uplink.show · resources
Resources
Printable PDF guides, free to read or download
Reference guides for the Uplink tools, as PDFs. Open one to read it in the browser, or download it to print and hand to a crew. They are numbered in reading order, and each one says who it is written for.
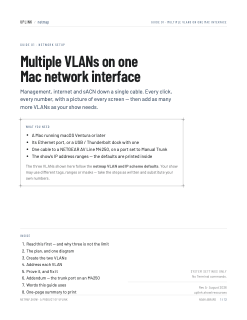
What is inside (10 sections)
A step-by-step walkthrough for setting up VLANs on macOS, using one physical network interface to carry as many VLANs as a show needs. Covers the three-VLAN netmap default — management untagged on 10.224.2.x, internet on tag 60 via DHCP, sACN on tag 30 at 192.168.30.x — and explains that three is the example, not a limit. Includes an addendum on setting a Manual Trunk port on a NETGEAR AV Line M4250, a glossary, and a one-page card for the rack.
- Read this first
- The plan
- Part one — create the VLANs
- Part two — address each VLAN
- Prove all three
- Rules that keep it working
- When it does not work
- Addendum: set the trunk port on an M4250
- Words this guide uses
- One page, for the rack
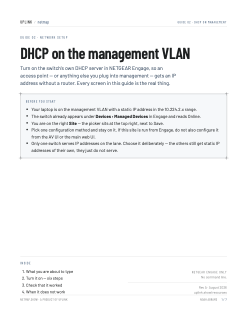
What is inside (4 sections)
How to serve IP addresses on a show’s management VLAN from the switch itself, in NETGEAR Engage. Prints the exact values — 10.224.0.1 with mask 255.240.0.0 (a /12 running 10.224.0.0 to 10.239.255.255), pool 10.224.0.2 to 10.239.255.254 — walks the six steps from VLAN Routing and DHCP Server through Apply and Save, and finishes by confirming a device took a lease. Every screen is a real capture of Engage.
- What you are about to type
- Turn it on
- Check that it worked
- When it does not work
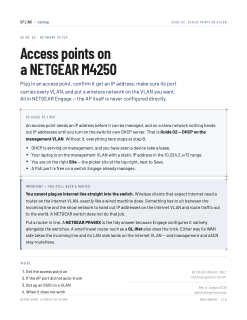
What is inside (5 sections)
Picks up where guide 02 ends. Plug an access point into a management port, watch it take a lease, let Engage adopt it, and confirm the port carries every VLAN — with a manual-trunk fallback for when auto-trunk does not happen. Then the SSID walkthrough: set the wireless network from the VLAN’s own profile so it lands on the right lane without choosing twice. The access point itself is never configured directly.
- Get the access point on
- What it looks like once adopted
- If the AP port did not auto-trunk
- Set up an SSID on a VLAN
- When it does not work
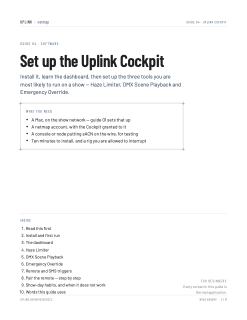
What is inside (11 sections)
From download to a working show. Covers installing the Cockpit once a licence is granted (it appears as a download in your netmap account), the dashboard and how tools start, then three tools end to end: the Haze Limiter — add a route, patch a hazer, set the haze/fog lock and a master; DMX Scene Playback — add universes, record cues, play them back; and Emergency Override — capture a look and fire it at priority 200. Finishes with remote and SMS triggers, show-day habits, a glossary and a quick card.
- Read this first
- Install and first run
- The dashboard
- Haze Limiter
- DMX Scene Playback
- Emergency Override
- Remote and SMS triggers
- Show-day habits
- When it does not work
- Words this guide uses
- Quick card
What is inside (9 sections)
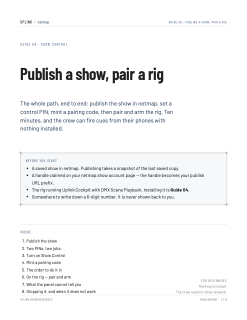
The netmap half and the Cockpit half of Show Control, in the order you actually do them. Publish the show and get its address, understand the two PINs and what each one opens, set the control PIN, mint a single-use pairing code, then on the rig paste the address and code, pair, enable remote cue control and arm it. Includes what the panel cannot tell you, how to stop it, and troubleshooting.
- Publish the show
- Two PINs, two jobs
- Turn on Show Control
- Mint a pairing code
- The order to do it in
- On the rig — pair and arm
- What the panel cannot tell you
- Stopping it
- When it does not work
What is inside (9 sections)
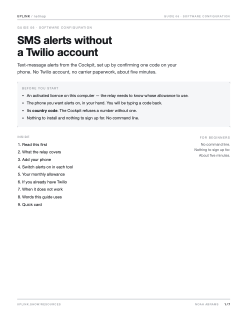
Setting up SMS alerts without opening a Twilio account or filing an A2P 10DLC registration. Covers the relay and the one rule it runs on — it will only text a phone that has confirmed a code — the three-step verification, which tools are carried and which still need your own Twilio, how the monthly allowance is counted in 160-character segments, and what happens if you supply your own credentials instead. Every error message the Cockpit can show is quoted verbatim with what to do about it.
- Read this first
- What the relay covers
- Add your phone
- Switch alerts on in each tool
- Your monthly allowance
- If you already have Twilio
- When it does not work
- Words this guide uses
- Quick card
What is inside (9 sections)
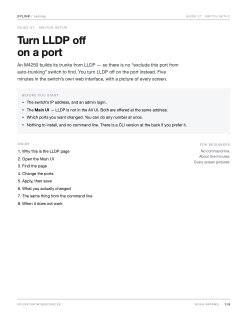
An M4250 forms auto-trunks from LLDP, and has no per-port auto-trunk setting — so excluding a port means turning LLDP off on it. Walks System > LLDP > Interface Configuration in the Main UI, including the part that catches people: the value is set in the applicator row above the ports, not in each port's own row. Explains the difference between Transmit and Receive, why the neighbour disappears from monitoring afterwards, that Apply is not Save, and gives the CLI equivalent.
- Why this is the LLDP page
- Open the Main UI
- Find the page
- Change the ports
- Apply, then save
- Check it
- What you actually changed
- The same thing from the command line
- When it does not work
What is inside (10 sections)
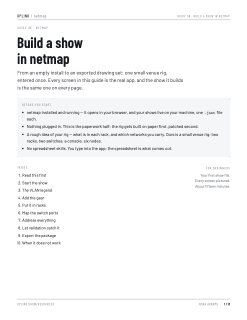
The first guide for netmap itself. Builds a real two-rack venue rig — an M4250-40G8XF and an M4250-12M2XF, a grandMA3, six sACN nodes — from a blank install to the printed package, following the app's own checklist — titleblock, VLAN legend, devices, racks, switch ports, addressing, validation, export. Every screen is the real app, annotated, and the show being built is the same one on every page. Ends with the validation tab catching two staged mistakes and the exported 25-sheet drawing set.
- Read this first
- Start the show
- The VLAN legend
- Add the gear
- Put it in racks
- Map the switch ports
- Address everything
- Let validation catch it
- Export the package
- When it does not work
What is inside (11 sections)
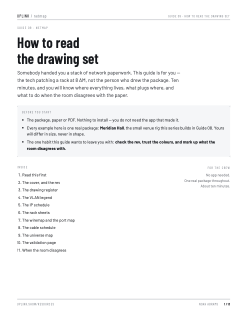
The receiving end of the paperwork. Written for the tech patching a rack, not the person who drew the package — no app needed. Walks the actual sheets of one real package (the Meridian Hall rig Guide 08 builds): the cover and why the rev matters, the drawing register and the E-number series, the VLAN legend as the colour law, the IP schedule, the per-rack elevation and wiremap sheets, the cable schedule's three bands, the universe map, and the validation report. Ends with the crew rules for when the room disagrees with the paper. Every figure is a real exported sheet, annotated.
- Read this first
- The cover, and the rev
- The drawing register
- The VLAN legend
- The IP schedule
- The rack sheets
- The wiremap and the port map
- The cable schedule
- The universe map
- The validation page
- When the room disagrees
What is inside (9 sections)
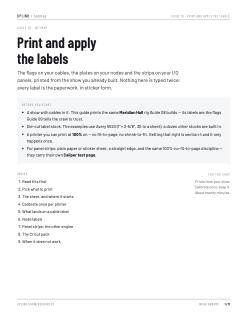
Where the paperwork becomes stickers. Covers both label engines in netmap: die-cut sheets for cables, devices, racks, looms and nodes — including the once-per-printer calibration that keeps print on the die-cuts — and the separate 1:1 engine that draws I/O panel strips at true connector pitch for cutting out. Shows what actually lands on a cable flag (the code on both halves, the far end, the lane colour down the fold), what a node plate carries (its address and the universe on every port), how a long panel run is cut at the connector-family break, the Caliper test page that proves a panel strip is really 1:1, and the Cricut Print Then Cut pack. Printed from the same Meridian Hall show Guides 08 and 09 build and read.
- Read this first
- Pick what to print
- The sheet, and where it starts
- Calibrate once per printer
- What lands on a cable label
- Node labels
- Panel strips: the other engine
- The Cricut pack
- When it does not work